


Now the cold and wet season is almost behind us we can pay attention to the exterior of our house or workplace. The wet and cold season can have a negative effect especially on concrete steps.
The corners and edge of the steps are vulnerable to chipping and the wet cold weather can enhance this. Once a concrete step is chipped or damaged it increases the risk of a person tripping, especially for a working environment it becomes a health and safety hazard.
Repairing Concrete Steps may sound more trouble than it is, but actually it quite easy, just follow this simple step by step guide and you will be on your way!
Step 1: Surface Preparation
• Break away all loose and friable material from the repairable area with a hammer or chisel
• Ensure the repairable surface is clean, dry and free from any contaminants
Note: It is recommended the correct PEE is worn such as coveralls, safety masks and safety gloves to protect to prevent your skin and breathing in any hazardous fumes.
Step 2: Priming
• Pour the contents of the hardener into the resin tin and mix thoroughly with a scraper
• Apply one thick coating to the entire surface with a paint brush or small roller
• The primer is not essential for step edge repairs however it will increase the strength and longevity of the repair.
Note: If the surface is damp it can be primed with Epoxy Tack Coat Primer for damp conditions
Step 3: Product Preparation
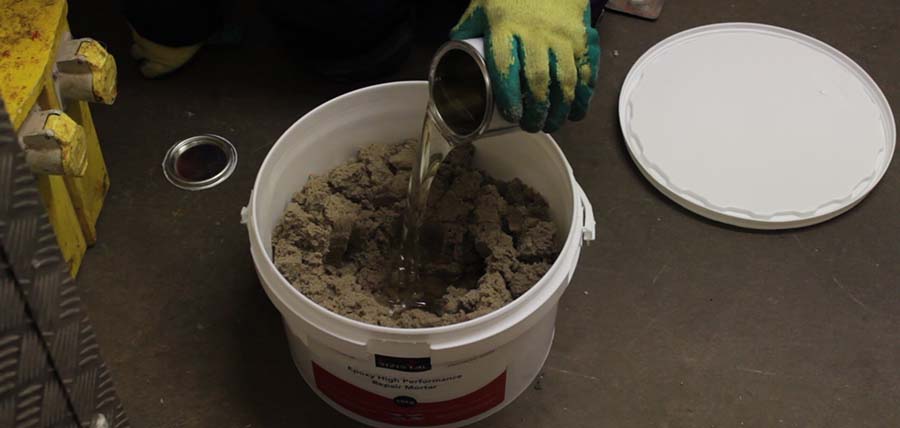
• Once primed, take the repair mortar container and remove the pre mixed tin of resin and curing agent out from the aggregate.
• Pour the resin into the middle of container making sure you drain and scrape as much of the contents as possible.
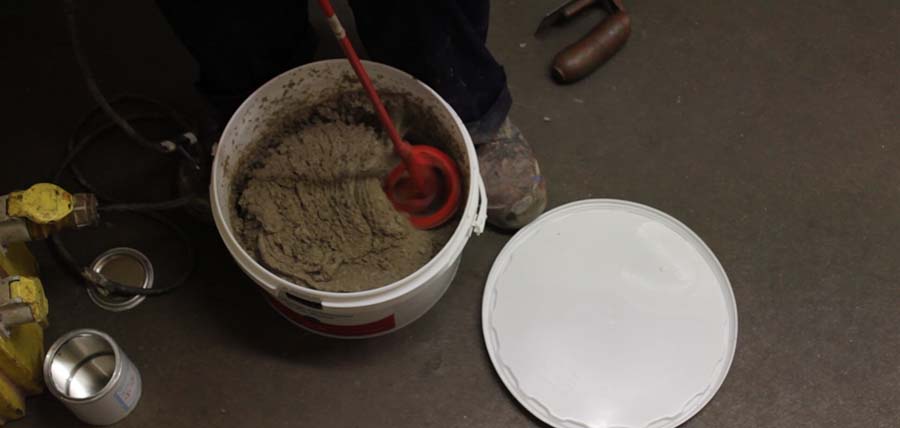
• Using a mixing paddle attached to a drill mix thoroughly until you achieve a uniform colour and consistency.
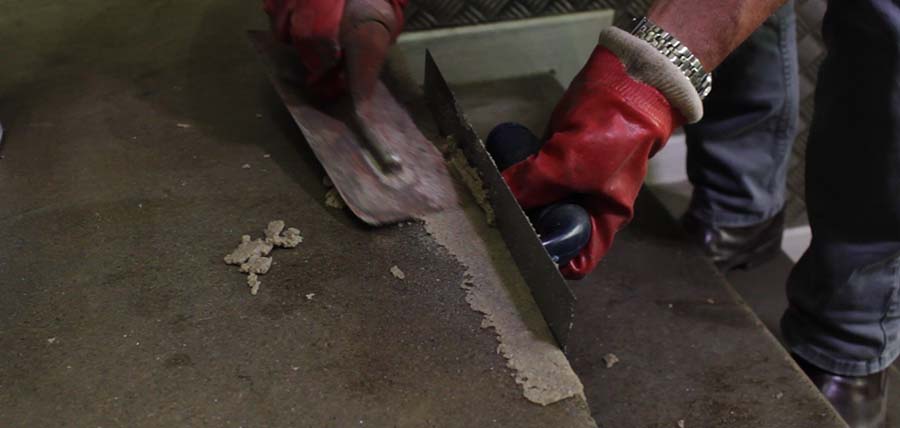
Step 4: Product Installation
• Using a finishing trowel or spreader work the mixed components into the repair until smooth of the surface.
• To achieve a smooth professional finish brush for wipe the trowel frequently with Rizistal safer solvent to prevent drag over the mortar.
Note: Any spillages can be scraped away or wiped off with a damp cloth before the product cures.
Step 5: Product Curing Time
• Light traffic can be accepted after 6 – 8 hours at 20°C
• The repair area should be kept clean and dry for 12 – 18 otherwise the product performance can be affected which can result to lack of cure and discolouration.