


Step 1
Surface Preparation
- Surfaces to be repaired must be clean, dry and free of any loose, friable material.
- For larger areas, recommend hiring floor preparation equipment such as an upright floor grinder.
- A large industrial vacuum from the same hire shop can be used to remove all surface dust and debris. Please call our help line for further information.
- Any small areas of oil, grease or other non-toxic chemical can be removed using RizistalClean or Rizistal Safer Solvent.
- Mark out perimeters using durable floor tape if necessary.
Step 2
Provide Safety Under Foot with Your Anti-Slip Paint
- Each pack of Epoxy Anti Slip Floor Paint is a 3 part product, housed within a large outer container:
- Resin Component
- Hardener Component
- Aggregate Component (Medium or Coarse)
- Empty the resin and hardener components in the large outer container making sure you scrape as much of the contents out as possible.
- Mix thoroughly using a Mixing Paddle attached to an electric drill, until you achieve a uniform colour and consistency.
- Pour the mixed contents into a paint scuttle to allow roller access.
- Apply the paint coating with a paint brush, small roller and/or wide, short pile roller, depending on the size of your area.
- Work the paint into the floor surface with long, even, parallel strokes.
TOP TIP: For the best finish, re-work the previous 2-3m² periodically with light, parallel, one-way strokes.
- Then working in manageable sections, sprinkle your chosen aggregate onto the newly applied wet coating.
- Re-apply the roller onto the surface to encapsulate the aggregate into the resin.
NOTE: If the surface is considered too anti-slip upon cure, a second paint coat can be applied within 12 hours to reduce the aggregate profile.
-
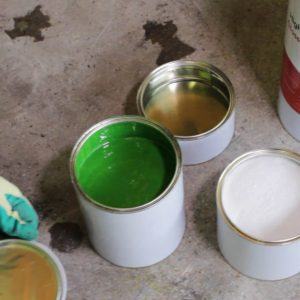
- 3 Part Pack
-
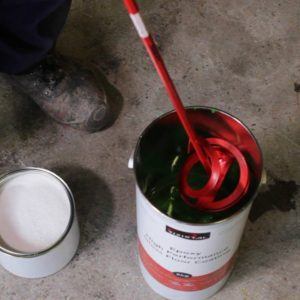
- Mix Thoroughly with Mixing Paddle
-
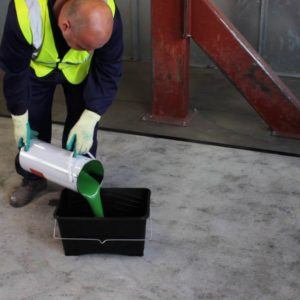
- Pour Mixed Contents into Scuttle
-
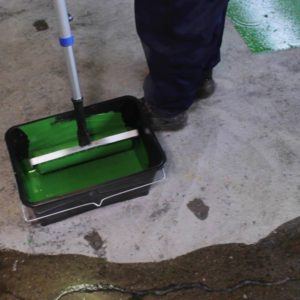
- Paint Scuttle Accepts Wide Rollers
-
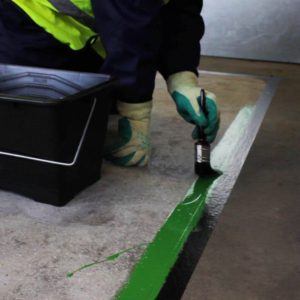
- Paint Boarders with Brush or Small Roller
-
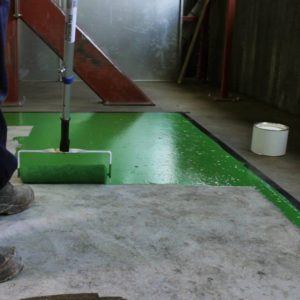
- Paint Large Areas with Wide, Short Pile Roller
-

- Sprinkle Chosen Aggregate
-
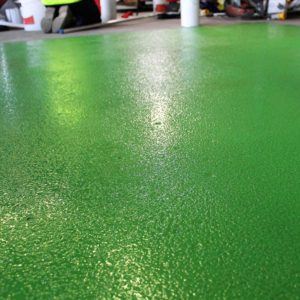
- Back Roller Aggregate to Encapsulate into Resin
Step 4
Leave to cure (Set) & Clean
- Once installed, leave your painted area to cure (set) by following the curing times guidelines below.
- Clean your equipment and tools with Rizistal Safer Solvent before it begins to cure.
Ready for all types of traffic:
- Standard Paint: 24 hours at 15 – 20°C
- Fast Cure Paint: 3 hours at 15 – 20°C
- Cold Cure Paint: 24 hours at 0 – 10°C
Full chemical cure:
- Standard Paint: 7 days at 15 – 20°C
- Fast Cure Paint: 5 – 7 days at 15 – 20°C
- Cold Cure Paint: 7 days at 0 – 10°C
PLEASE NOTE: After installation, this product must be kept clean and dry for 12 to 18 hours, otherwise the product performance will be seriously affected, which may result in discolouration and lack of cure.