


Roof damage is a problem we would all rather avoid, but it can happen to any home for reasons such as weather, corrosion and wear and tear that can cause cracks and splits within our rooftops.
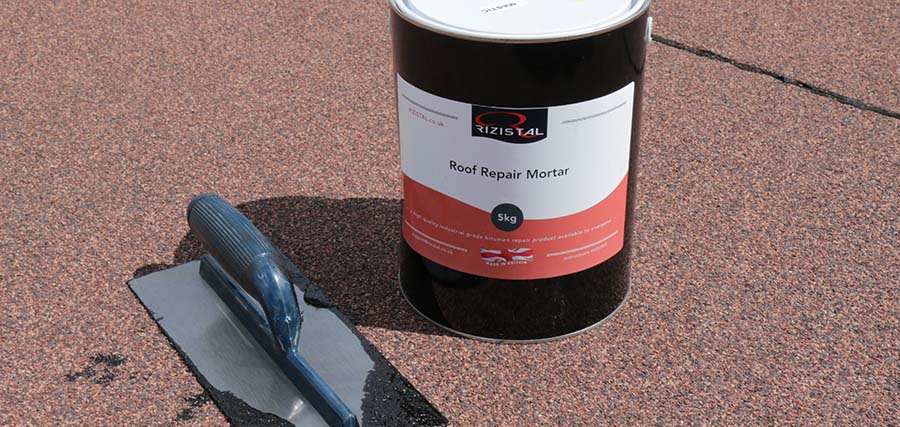
A roof repair mortar is a simple easy to apply solution, the repair mortar can be used for general roof sealing and waterproofing repairs such as splits cracks and holes.
The roof repair mortar can also be used to bed slates and tiles as well as producing wall coves for skylight windows.
The mortar can be applied on a variety of surfaces including:
- Felt
- Concrete
- Steel
- Asphalt
- Zinc
- Lead and more…
Step 1: Surface Preparation
- All Surfaces must be thoroughly prepared to ensure that they are free from any contamination of loose material.
- All traces of algae and fungi growth or moss should be removed using a stiff bristled brush, wire brush or scraper.
Note: Where algae and fungi have been present, the surface should be treated with an appropriate Fungicide.
Step 2: Mixing
- Prior to application, ensure that the entire contents is mixed thoroughly to a thick and even consistency.
- The Mortar may be applied to surfaces which are dry or damp. Excessively wet substrates should be dried before application.
- It is recommended to wear the correct PPE before applying the repair mortar.
Step 3: Application
- The application of the Coating can be carried out between -10 and 40°C using a pointing trowel, steel float or spatula.
Crack Filling
- Shallow cracks and fissures are simply filled and smoothed over, leaving slightly proud at the centre.
- Deep cracks should be filled in consecutive, multiple layers, each being firmly compacted by trowel and again finally left slightly proud at the centre.
Joint Sealant
- If possible, the materials at the joint (eg. metal sheeting) should be pulled back and the surface thoroughly cleaned using a stiff bristled brush.
- The Mortar can subsequently be trowelled over the lower sheet overlap surface to a depth of 6mm then fixed onto the bedding mortar.
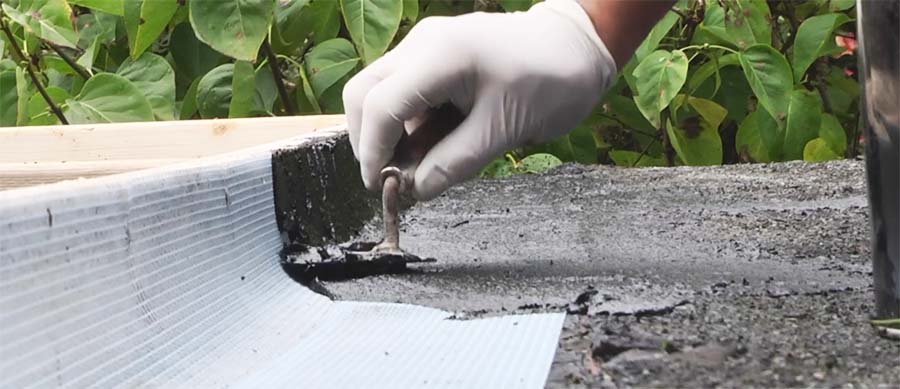
Junctions between Vertical & Horizontal Surfaces
- Apply the Mortar in the shape of a triangular fillet with a pointing trowel.
- With any of the above type of repairs, the use of reinforcing scrim bandage to enhance the quality of the repair should be considered.
Bedding Tiles or Loose Slates
- For loose slates, tiles and flashings needing to be re-bedded, a stiff brush should be used to clear away any excess debris.
- A layer of the Mortar is then applied at a suitable thickness around the top and side edges, before the tiles/slates are replaced, positioned and secured by being pressed firmly into the mortar.
Note: On completion clean tools with Rizistal Safer Solvent.
Step 4: Curing Time
- Approximately 24 – 48 hours depending on ambient temperature and conditions.
- An increased application thickness as well as moisture will increase curing time.
Note: After installation, this product must be kept clean and dry for 12-18 hours (depending on ambient temperatures), otherwise the performance will be seriously affected, which may result in discolouration and lack of cure.